Removing Optical Distortions
 visitors since October 13, 1998 visitors since October 13, 1998
Pictures taken through a teleconverter or a monocular can suffer from "pincushion" distortion -- vertical and horizontal lines appear to bow inwards towards the center of the image. This page shows how to remove the distortions introduced by add-on lenses using the spherical distortion feature in Photoshop 5. The example on this page work well for pictures taken with an Epson PhotoPC 600 and a monocular. The specifics may vary for different cameras and teleconverters/monoculars, but the general procedure should be the same.
Here is a image that was taken using the monocular, before and after the Photoshop transformation:
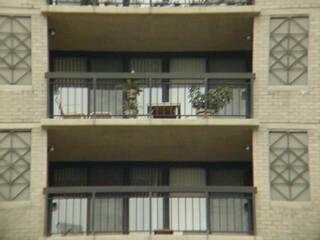 Distorted image (cropped) |
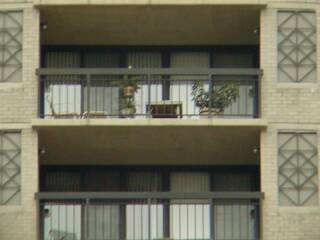 Corrected image (cropped) |